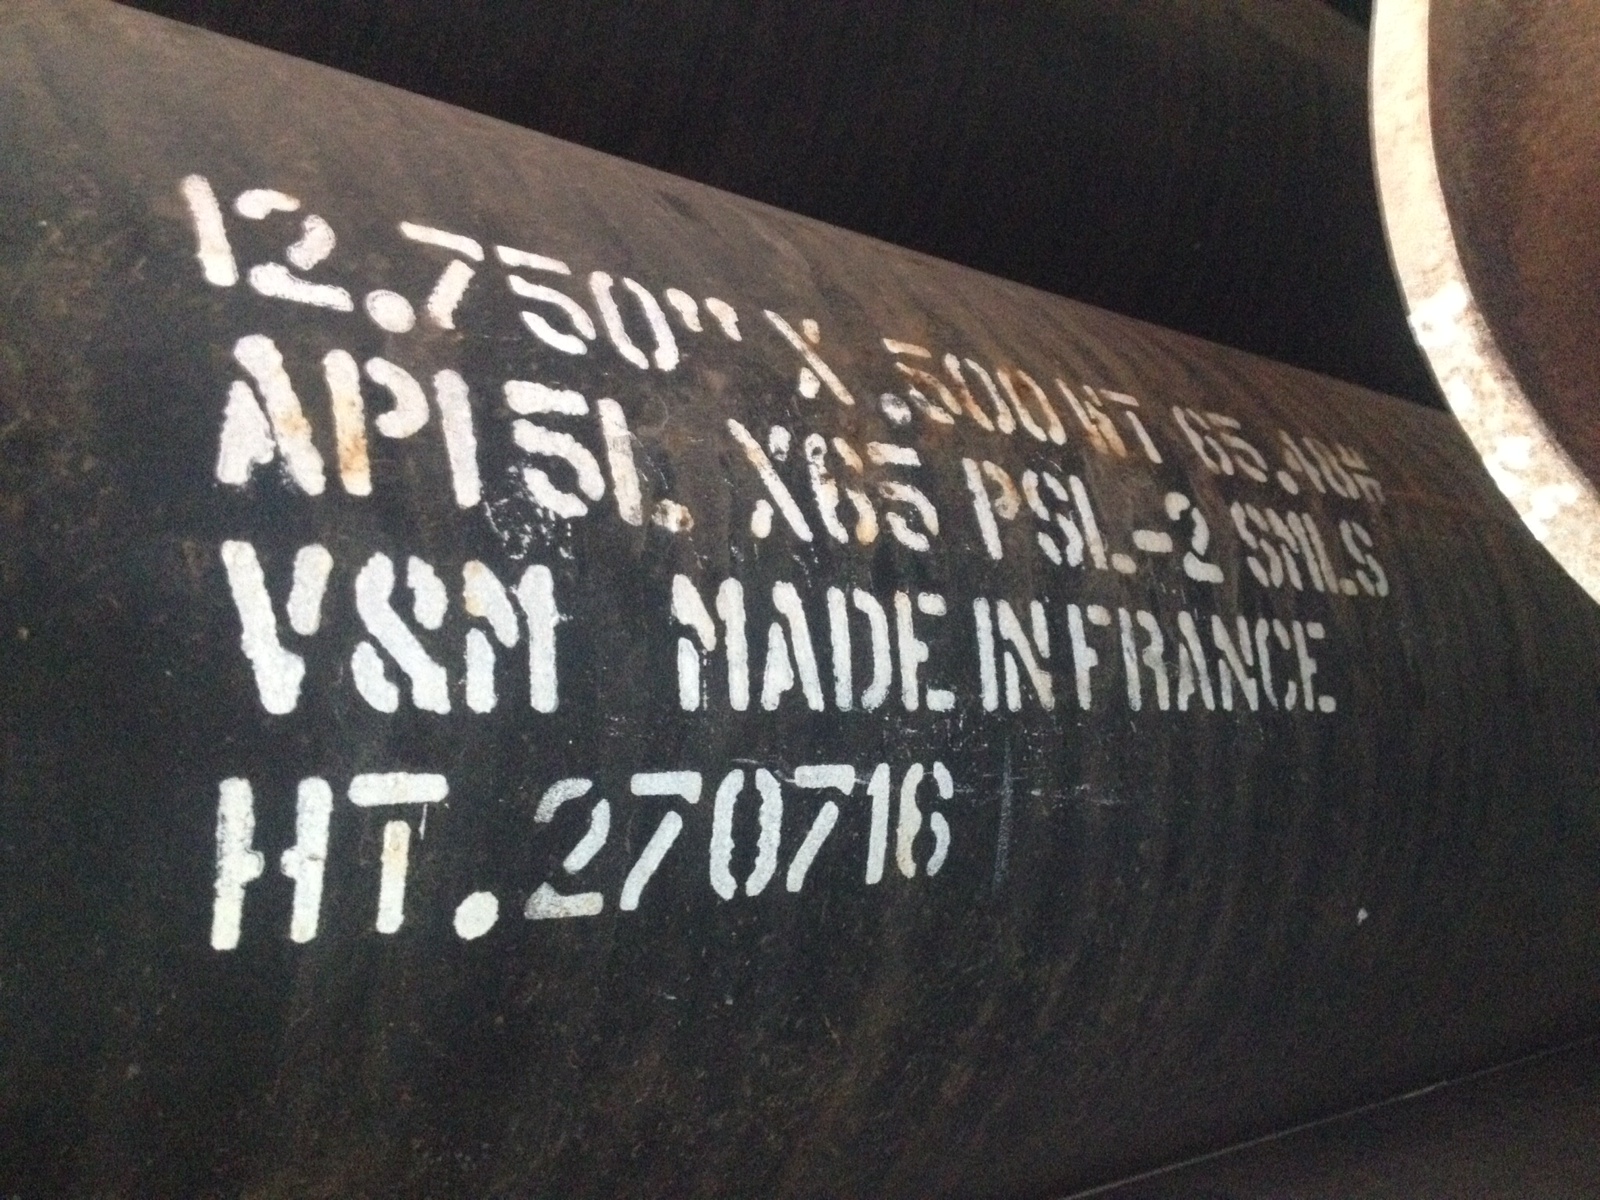

Click on any of the specs below to get a brief description. All of the information on these specs are up to date as of 2008 per ASTM/ASME/API. If you would like so request any additional specs be added to this page, or would care to offer any amendments, please forward your request to Mike Meyerhoff.
Standard specification of welded and seamless pipe
Outside Diameter: 1/8 – 26 (Nominal)
OD Tolerance: For pipe up to 1-1/2” +/- 1/64”. For pipe greater than 1-1/2 +/- 1%
Wall Thickness: Scheduled
Wall Tolerance: -12.5%
Mass: +/- 10%
| Minimum Yield | Minimum Tensile | |
| Grade A: | 30,000 PSI | 48,000 PSI |
| Grade B: | 35,000 PSI | 60,000 PSI |
Chemical Composition Max %
| C | Mn | P | S | Cu* | Ni* | Cr* | Mo* | V* | |
| Grade A: | .25 | .95 | .05 | .045 | .40 | .40 | .40 | .15 | .08 |
| Grade B: | .30 | 1.20 | .05 | .045 | .40 | .40 | .40 | .15 | .08 |
*The total composition for these five elements shall not exceed 1.00%
Standard specification for seamless pipe for high-temperature service
Outside Diameter: 1/8 – 26 (Nominal)
OD Tolerance: +/- 1%
Wall thickness: Scheduled
Wall Tolerance: +/- 12.5%
Mass: +10% -3.5% (unless otherwise agreed upon)
| Minimum Yield | Minimum Tensile | |
| Grade A: | 30,000 PSI | 48,000 PSI |
| Grade B: | 35,000 PSI | 60,000 PSI |
| Grade C: | 40,000 PSI | 70,000 PSI |
Chemical Composition %
| C(max) | Mn | P(max) | S(max) | Si(min) | Cu*(max) | Ni*(max) | Cr(max) | Mo*(max) | V*(max) | |
| Grade A: | .25 | .95 | .05 | .045 | .40 | .40 | .40 | .15 | .08 | .08 |
| Grade B: | .30 | 1.20 | .05 | .045 | .40 | .40 | .40 | .15 | .08 | .08 |
| Grade C: | .30 | 1.20 | .05 | .045 | .40 | .40 | .40 | .15 | .08 | .08 |
For each reduction of .01% below the specified carbon maximum, and increase of .06% manganese above the specified maximum will be permitted up to a maximum of 1.35%.
*These five elements combined shall not exceed 1.65% total composition (2010)
Standard specification for straight seam or spiralweld casing pipe
Outside Diameter: 1/8 – 26 (Nominal)
OD Tolerance: +/- 1%
Wall Tolerance: +/- 12.5%
Mass: +10% -5%
| Minimum Yield | Minimum Tensile | |
| Grade A: | 30,000 PSI | 48,000 PSI |
| Grade B: | 35,000 PSI | 60,000 PSI |
| Grade C: | 40,000 PSI | 70,000 PSI |
| Grade D: | 42,000 PSI | 60,000 PSI |
| Grade E: | 52,000 PSI | 66,000 PSI |
Chemical Composition %
| C | Mn | P | S | |
| Grade A: | .25 | 1.00 | .035 | .035 |
| Grade B: | .26 | 1.00 | .035 | .035 |
| Grade C: | .28 | 1.20 | .035 | .035 |
| Grade D: | .30 | 1.30 | .035 | .035 |
| Grade E: | .30 | 1.40 | .035 | .035 |
A hydrostatic test with a stress no less than 60% of the minimum yield at room temperature shall be performed on each piece by the manufacturer.
Standard specification for straight seam or spiralweld piling pipe
OD Tolerance: +/- 1%
Wall Tolerance: - 12.5%
| Minimum Yield | Minimum Tensile | |
| Grade 1: | 30,000 PSI | 50,000 PSI |
| Grade 2: | 35,000 PSI | 60,000 PSI |
| Grade 3: | 45,000 PSI | 66,000 PSI |
Chemical Composition
The steel shall contain no more than 0.05% phosphorous
Standard specification for welded and seamless structural tubing
OD Tolerance: +/- 0.5%
Wall Tolerance: +/- 10.00%
| Minimum Yield | Minimum Tensile | |
| Grade A: | 33,000 PSI | 45,000 PSI |
| Grade B: | 42,000 PSI | 58,000 PSI |
| Grade C: | 46,000 PSI | 62,000 PSI |
| Grade D: | 36,000 PSI | 58,000 PSI |
Chemical Composition % (Heat Analysis)
| C(max)* | Mn(max)* | P(max) | S(max) | Cu(min)** | |
| Grade A: | 0.26 | 1.35 | 0.035 | 0.035 | 0.2 |
| Grade B: | 0.26 | 1.35 | 0.035 | 0.035 | 0.2 |
| Grade C: | 0.23 | 1.35 | 0.035 | 0.035 | 0.2 |
| Grade D: | 0.26 | 1.35 | 0.035 | 0.035 | 0.2 |
* for each reduction of 0.01 percentage point below the specified maximum for carbon, an increase of 0.06 percentage point above the specified maximum for manganese is permitted, up to a maximum of 1.50 % by heat analysis.
** If copper-containing steel is specified in the purchase order
Chemical Composition%
| C(max) | Mn | P(max) | S(max) | Si(min) | Cu*(max) | Ni*(max) | Cr(max) | Mo*(max) | V*(max) | |
| Grade A: | .25 | .27-.93 | .035 | .035 | .10 | .40 | .40 | .40 | .15 | .08 |
| Grade B: | .30 | .29-1.06 | .035 | .035 | .10 | .40 | .40 | .40 | .15 | .08 |
| Grade C: | .35 | .29-1.06 | .035 | .035 | .10 | .40 | .40 | .40 | .15 | .08 |
For each reduction of .01% below the specified carbon maximum, and increase of .06% manganese above the specified maximum will be permitted up to a maximum of 1.35%.
*These five elements combined shall not exceed 1.65% total composition (2010)
Standard speciation for seamless and welded carbon steel line pipe
Outside Diameter: .405’’ – 84’’
OD Tolerance < 2.375’’: .016’’ - .063’’ (Seamless & Welded)
OD Tolerance 6.625’’ – 24: +/- .063” (Seamless & Welded)
OD Tolerance > 24”: +/- .079” (Seamless) +/- .063” (Welded)
Wall thickness: .068” – 2.05”
Wall Tolerance < .157” (Seamless): .024” - .02”
Wall Tolerance .157” - .984” (Seamless): + (.150 * wall thickness) – (.125” * wall thickness)
Wall Tolerance > .984” (Seamless): +.146” - .120”
Wall Tolerance < .197” (Welded): +/-“ .02”
Wall Tolerance .197” - .591” (Welded): +/- (.1 * wall thickness)
Wall Tolerance > .591” (Welded): +/- .06”
Minimum Yield: 35,000 PSI
Minimum Tensile: 60,200 PSI
| C | Mn | P | S | |
| Chemical Requirements (Seamless) | .28 | 1.20 | .03 | .03 |
| Chemical Requirements (Welded) | .26 | 1.35 | .035 | .03 |
Standard speciation for seamless and welded carbon steel line pipe
Outside Diameter: .405’’ – 84’’
OD Tolerance < 2.375’’: .016’’ - .063’’ (Seamless & Welded)
OD Tolerance 6.625’’ – 24: +/- .063” (Seamless & Welded)
OD Tolerance > 24”: +/- .079” (Seamless) +/- .063” (Welded)
Wall thickness: .068” – 2.05”
Wall Tolerance < .157” (Seamless): .024” - .02”
Wall Tolerance .157” - .984” (Seamless): + (.150 * wall thickness) – (.125” * wall thickness)
Wall Tolerance > .984” (Seamless): +.146” - .120”
Wall Tolerance < .197” (Welded): +/-“ .02”
Wall Tolerance .197” - .591” (Welded): +/- (.1 * wall thickness)
Wall Tolerance > .591” (Welded): +/- .06”
Minimum Yield: 35,000 - 65,300 PSI
Minimum Tensile: 60,200 – 110,200 PSI
| C | Mn | P | S | Si | V | Nb | Ti | |
| Seamless & Welded | .24 | 1.20 | .025 | .015 | .04 | .06 | .05 | .04 |
| Welded | .22 | 1.20 | .025 | .015 | .05 | .04 | .05 | .04 |
The specifications listed above are for reference only. Please refer to the ASTM or API manuals for detailed specification information.
Standard speciation for seamless and welded carbon steel line pipe
| Composition % | ||||||
| C(max) | Mn | P(max) | S(max) | Si | Ni | |
| Grade 1 | 0.03 | 0.40 - 1.06 | 0.025 | 0.025 | ||
| Grade 3 | 0.19 | 0.31 - 0.64 | 0.025 | 0.025 | 0.18 - 0.37 | 3.18 - 3.82 |
| Grade 6 | 0.3 | 0.29 - 1.06 | 0.025 | 0.025 | 0.10 (min) |
For each reduction of 0.01% carbon below 0.30%, an increase of 0.05% manganese above 1.06% would be permitted to a maximum of 1.35% manganese. When Grade 6 is ordered under this specification, supplying an alloy grade that specifically requires the addition of any element other than those listed for the ordered grade is not permitted. However, the addition of elements required for the deoxidation of the steel is permitted.
Impact Testing
| Minimum Size of Specimen | Minimum Average Impact Value of Each Set of Three Specimens | Minimum Impact Value of One Specimen | Impact Temperature | ||||||
| Foot Pounds | Joules | Foot Pounds | Joules | F | C | ||||
| 10 x 10 | 13 | 18 | 10 | 14 | -50 | -45 | |||
| 10 x 7.5 | 10 | 14 | 8 | 11 | -150 | -100 | |||
| 10 x 6.67 | 9 | 12 | 7 | 9 | -50 | -45 | |||
| 10 x 5 | 7 | 9 | 5 | 7 | |||||
| 10 x 3.33 | 5 | 7 | 3 | 4 | |||||
| 10 x 2.5 | 4 | 5 | 3 | 4 | |||||
For Grades 1, 3 and 6, the notched-bar impact properties of each set of three impact specimens, including specimens for the welded joint in welded pipe with wall thicknesses of 0.120 in. [3 mm] and larger, shall not be less than the values prescribed:
Minimum Yield/Tensile
| Grade 1 | |
| Minimum Yield | 30,000 PSI |
| Minimum Tensile | 55,000 PSI |
| Grade 3 | |
| Minimum Yield | 35,000 PSI |
| Minimum Tensile | 65,000 PSI |
| Grade 6 | |
| Minimum Yield | 35,000 PSI |
| Minimum Tensile | 60,000 PSI |
